
How To Use Knockturn’s Gitea
Contenido
So you have joined some group on Knockturn and it requires Gitea. You have no idea what it is, why it is, who would even make something that darn complex? Here is your handy guide to understand all you need to know about using git on knockturn.
Creating an Account
To create an account head over the gitea.knockturnmc.com and create your own handy account. Then, do Emmae add reporter named <gitea username> (without the < and >) in #general or #botspam on the Discord server.
Downloading Sourcetree
We recommend downloading and using a program called Sourcetree, but we have tutorials for Sourcetree, Intellij, and the command line as well.
Creating an SSH Key
An ssh key is kind of like a password that is secured by you having a specific file. The way it works is you have a public and a private key. You give the public key to Gitea, while keeping the private key on your PC, laptop etc. You can use the same private key to access that same account, and use it in multiple locations. It’s essentially a way of identifying that you really are the owner of the account when you access the website and not having to “sign in”.
Generating the Key
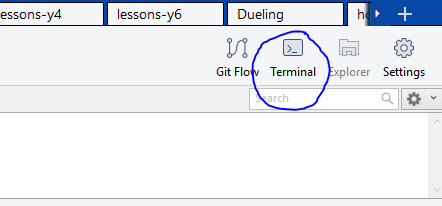
First thing you need to do is go to the terminal provided by Sourcetree. This will open up a window for you to type in commands.
Then you need to run the following command
cd ~/.ssh
If you get a directory does not exist error, then you should run mkdir ~/.ssh
After you have entered into your .ssh folder, you need to do the command
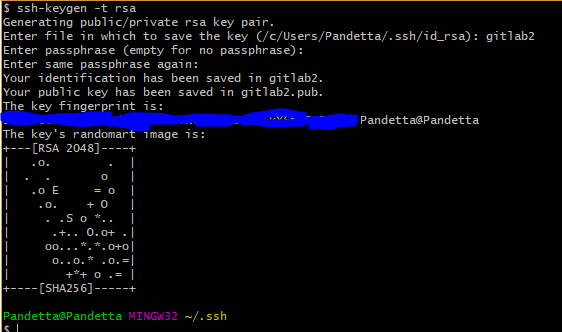
ssh-keygen -t rsa
The following dialogue will pop up. You can name the key whatever you like.

Then it will ask for you to put in a passphrase. Just press enter for no passphrase. Then a random art will pop up.
After that, you will need to go to your homedirectory/.ssh For me this is: C:/Users/Pandetta/.ssh For you it might be something else. Then open up the public key file gitlab2.pub in a notepad application.
Open up the public key. (The one that is gitlab2.pub or PUB file).
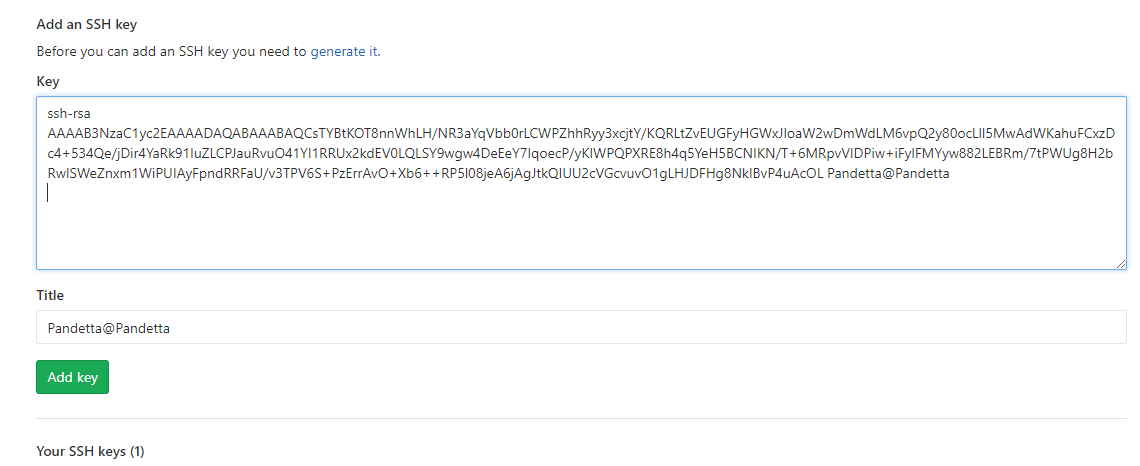
It will look like this:

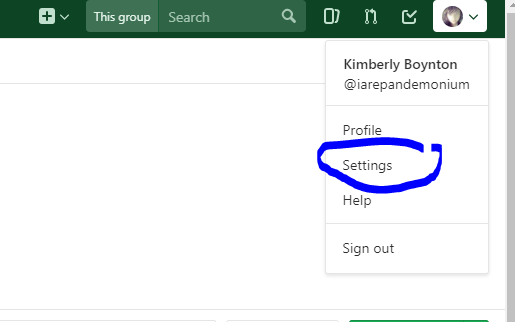
Select ALL of the text, and copy it. Then go to Settings in your Gitea.
Then go to SSH keys
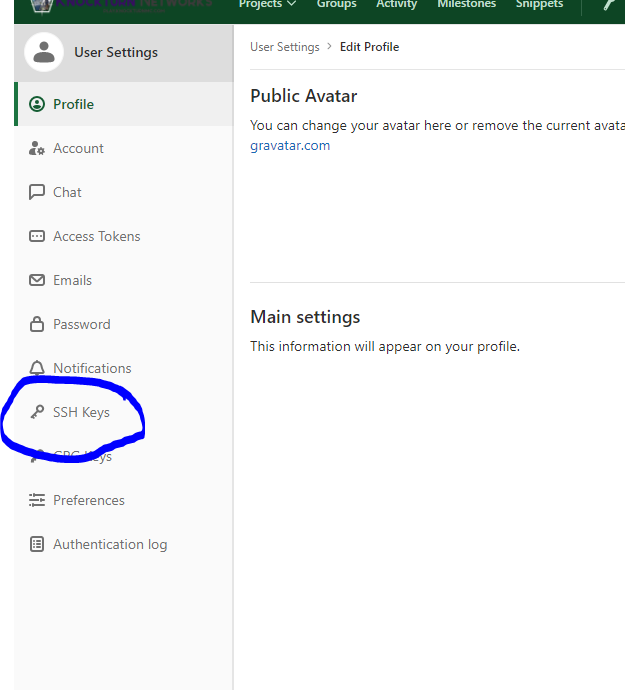
Then paste your ssh key into the box. And save it.
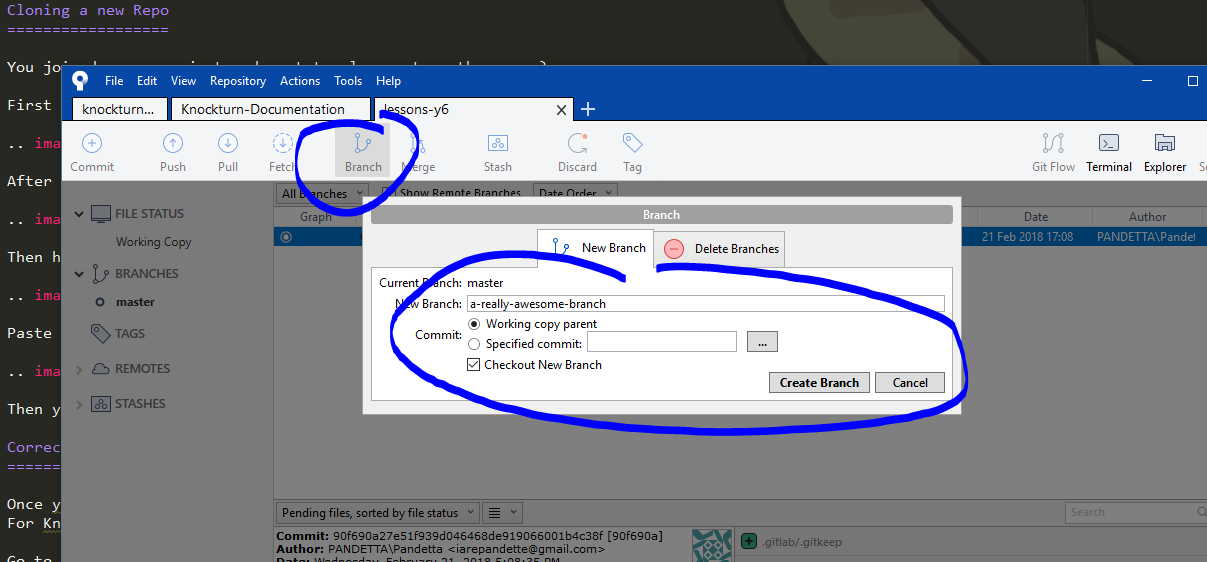
Cloning a new Repo
You joined a new project and want to clone yet another repo?
First go to the overview of the project and copy the ssh url for the project.

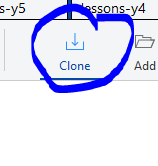
After that, you need to go to Sourcetree and hit the plus button in the top corner.

Then hit Clone.
Paste the URL that you copied into the top box where it says Source Path/URL (ignore that the link is different than the first screenshot)
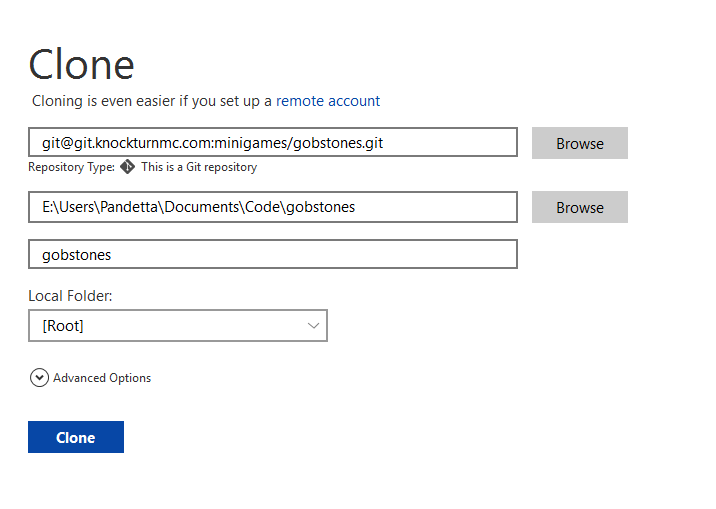
Then you have cloned your repository.
Correct Branch For Your Git Project
Once you have the project, depending on which project you are working on you will want to merge to a different branch. For Knockturn Documentation, this is master branch only. For lore, it’s the develop branch.
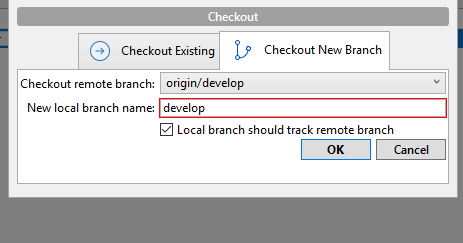
Go to the Repository tab at the top of source tree and hit Checkout…
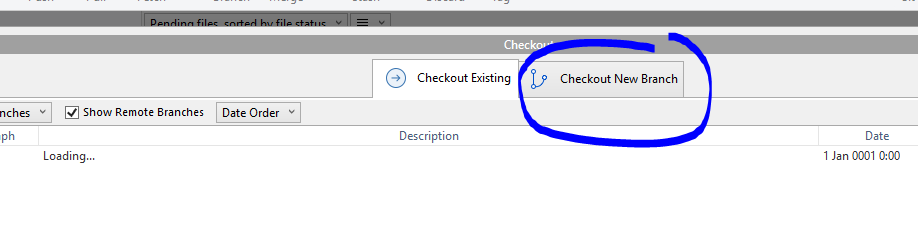
After that select the branch you want to check out. You will want to keep this branch up to date as people make changes to it so you don’t accidentally have conflicts with the changes they make.
Then you need to make a new branch for whatever you are working on. To do this press the branch button and put in your new branch’s name
Whenever you need to pull down someone else’s just hit the pull button.
Making Changes And Committing them to the Repo
Nota
Always remember if you are working on a branch someone else might make changes to PULL before you COMMIT!
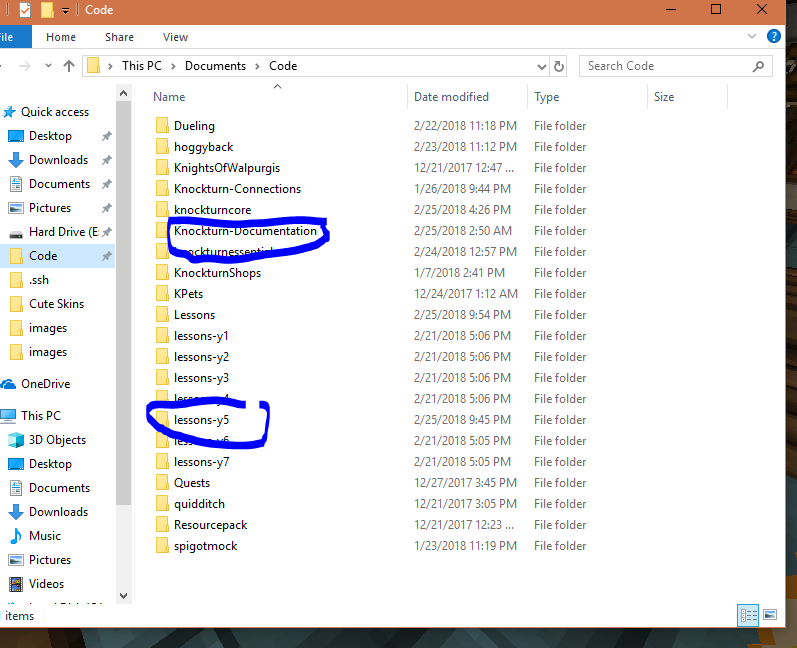
Most Sourcetree projects will put your projects into your Documents folder to start. I set mine so they all go to a folder named Code. Regardless, go to whereever your Sourcetree stores the files, which it tells you when it clones.
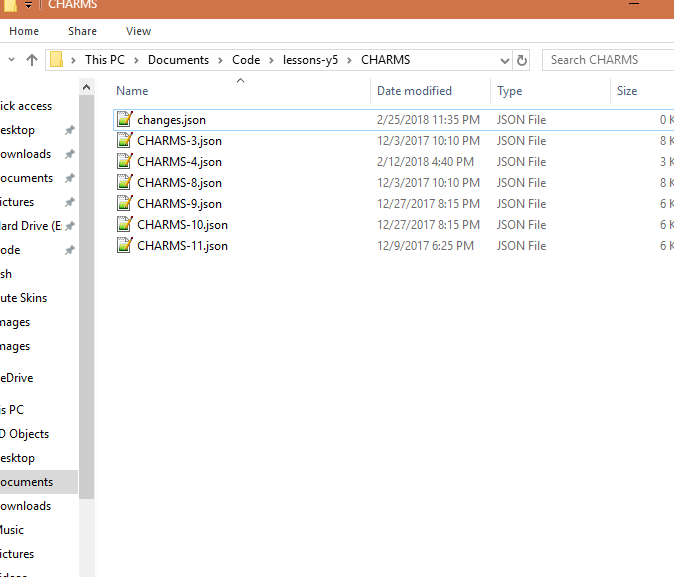
Open up the location Sourcetree cloned your project.
Then make the changes to the location you wish to make changes
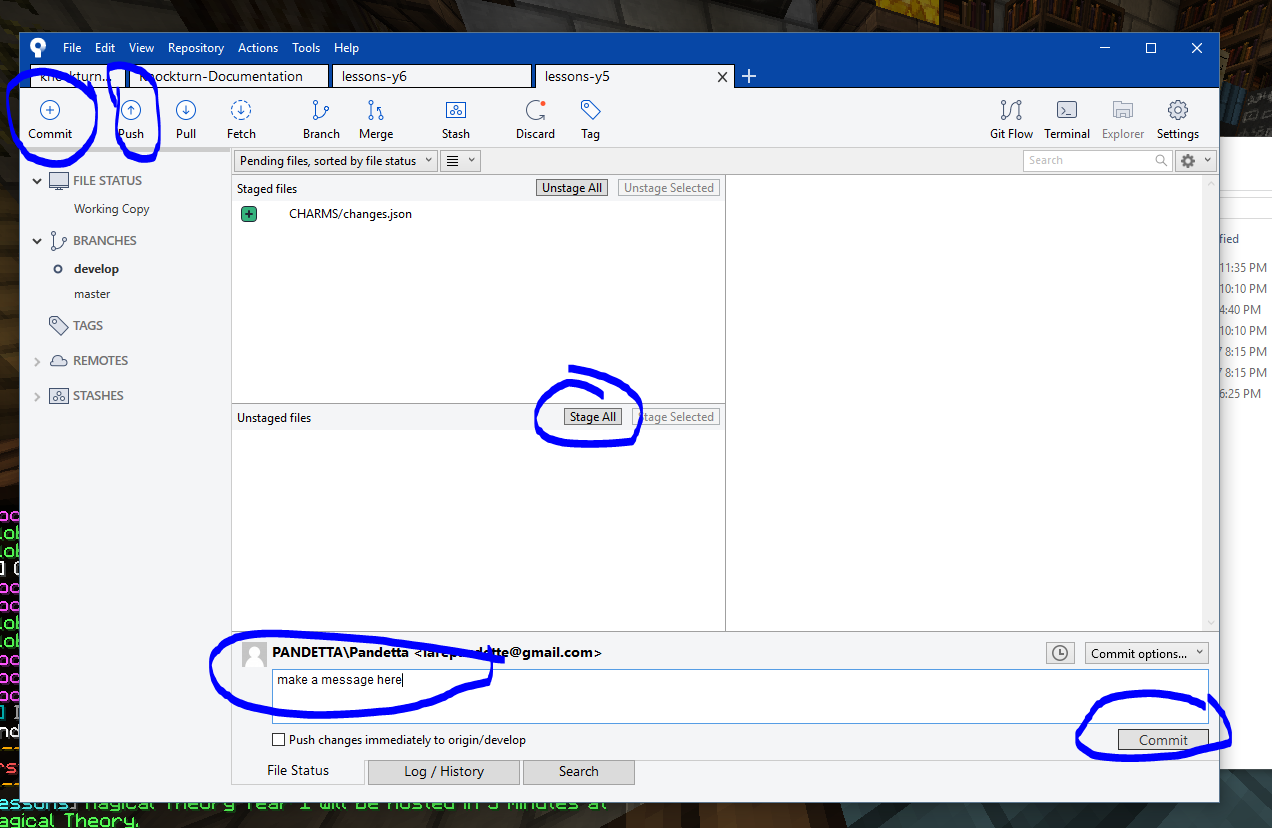
First make sure you have the branch you want to push to selected. Then press the commit button. After pressing that, stage all changes (Or just selected ones you want) so they appear in the “staged files” box. Then make a message about what you wish to commit. Then commit it. After that hit the push button
Select the branch you want to push the commits to, and push them out in the world. You have officially made changes to the git repo.